Introduction
Long exposure photography is an exhilarating technique that allows you to capture stunning images with beautiful light trails, motion blur, and smooth effects. With the advancements in iPhone camera technology, creating long exposure shots has never been more accessible.
This guide aims to equip you with the knowledge and techniques needed to master long exposure photography using your iPhone. From understanding the basics to editing your final shot, we will cover everything you need.
Understanding Long Exposure Photography
What is Long Exposure Photography?
Long exposure photography involves taking pictures with a slow shutter speed. This technique captures the movement of objects over a period of time, resulting in unique and often dramatic images. You can create effects such as light trails from moving cars, smooth river flows, and dynamic night sky shots.
Key Concepts: Shutter Speed, Light Trails, and Motion Blur
To effectively master long exposure photography, familiarize yourself with key concepts:- Shutter Speed: This determines how long your camera's sensor is exposed to light. Slower speeds allow more light and motion to be captured, creating blur effects.- Light Trails: Capturing the path of moving light sources, like car headlights or fireworks, results in stunning trails.- Motion Blur: This occurs when moving objects appear blurred while stationary objects remain sharp. It is perfect for conveying motion in sports or traffic scenes.
Now that you understand the basics, let’s prepare your iPhone for long exposure shots.
Preparing Your iPhone for Long Exposure Shots
Required Camera Settings
First, ensure your iPhone is set up correctly:- Enable Live Photos: This feature captures a short video clip, allowing you to create long exposures in the Photos app.- Turn off HDR: While HDR is great for balanced exposures, it can interfere with long exposure effects.
Recommended Apps for Enhanced Control
While the native Camera app is capable, third-party apps offer more control:- Slow Shutter Cam: Provides full manual control over shutter speed and ISO.- ProCamera: A versatile app with various modes including long exposure.
Necessary Accessories (Tripods, ND Filters)
Stability is crucial. Invest in:- Tripod: Keeps your iPhone steady, preventing camera shake.- ND Filters: These reduce the amount of light entering the lens, essential for daytime long exposure.
With your gear ready, you can now focus on techniques to capture stunning long exposure photos.
Best Techniques for Capturing Stunning Long Exposure Photos
Daytime Long Exposure Techniques
Daytime long exposure requires managing bright conditions:1. Use ND Filters: They help reduce light and prevent overexposure.2. Select a Slow Shutter Speed: In your chosen app, set the shutter speed to at least 1/15th of a second.3. Stabilize Your iPhone: Use a tripod to keep your phone still during the exposure.
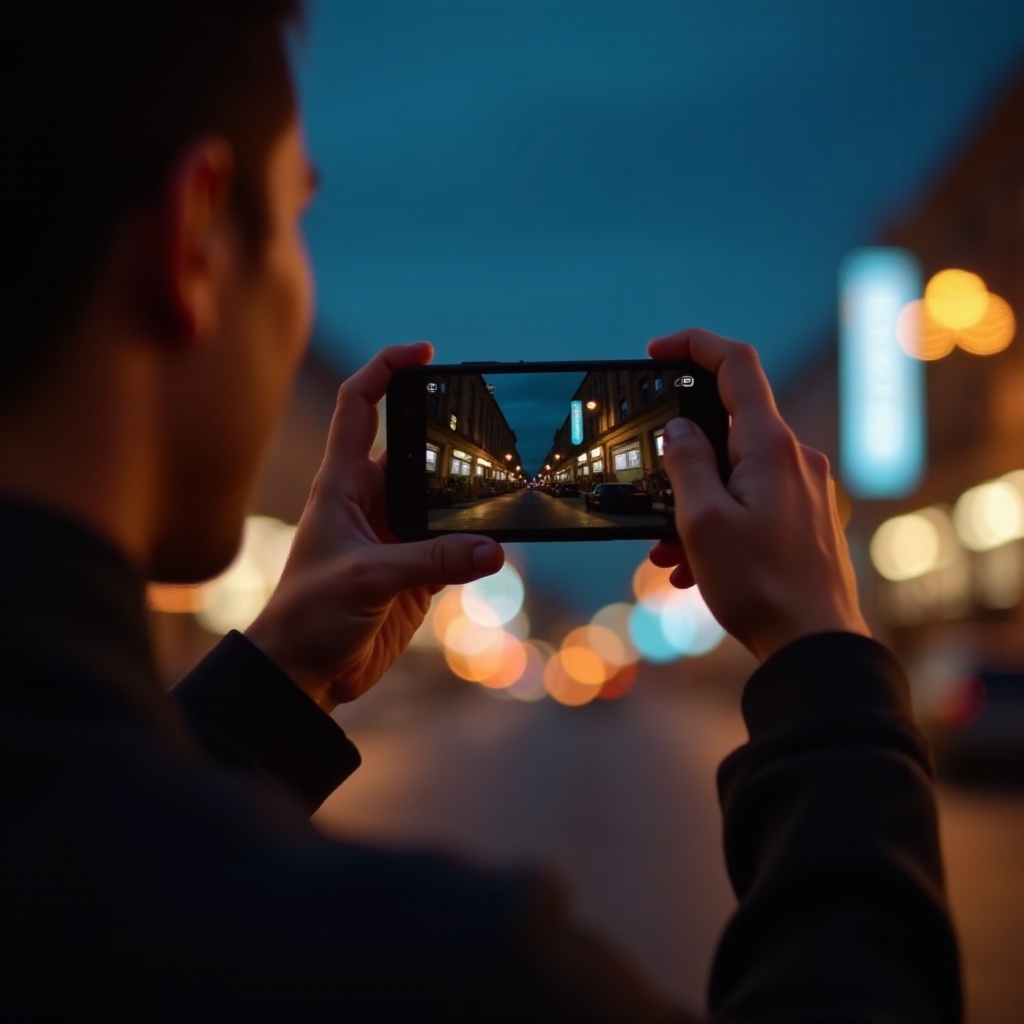
Capturing Light Trails at Night
Nighttime offers exciting possibilities:1. Find Light Sources: Position yourself where vehicles or other moving lights pass by.2. Adjust Exposure Time: Aim for 10-30 seconds depending on light conditions and desired trail length.3. Steady Your Shot: Again, use a tripod to avoid any camera movement.
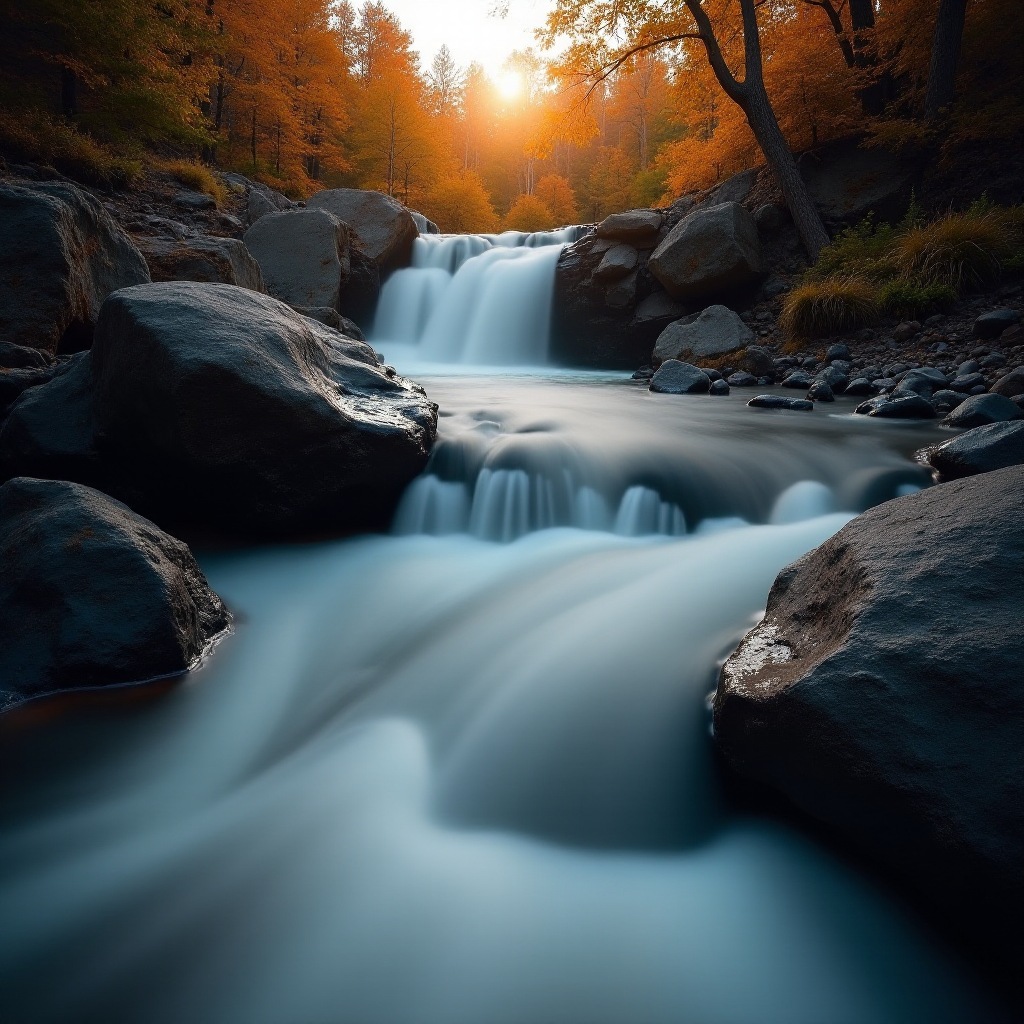
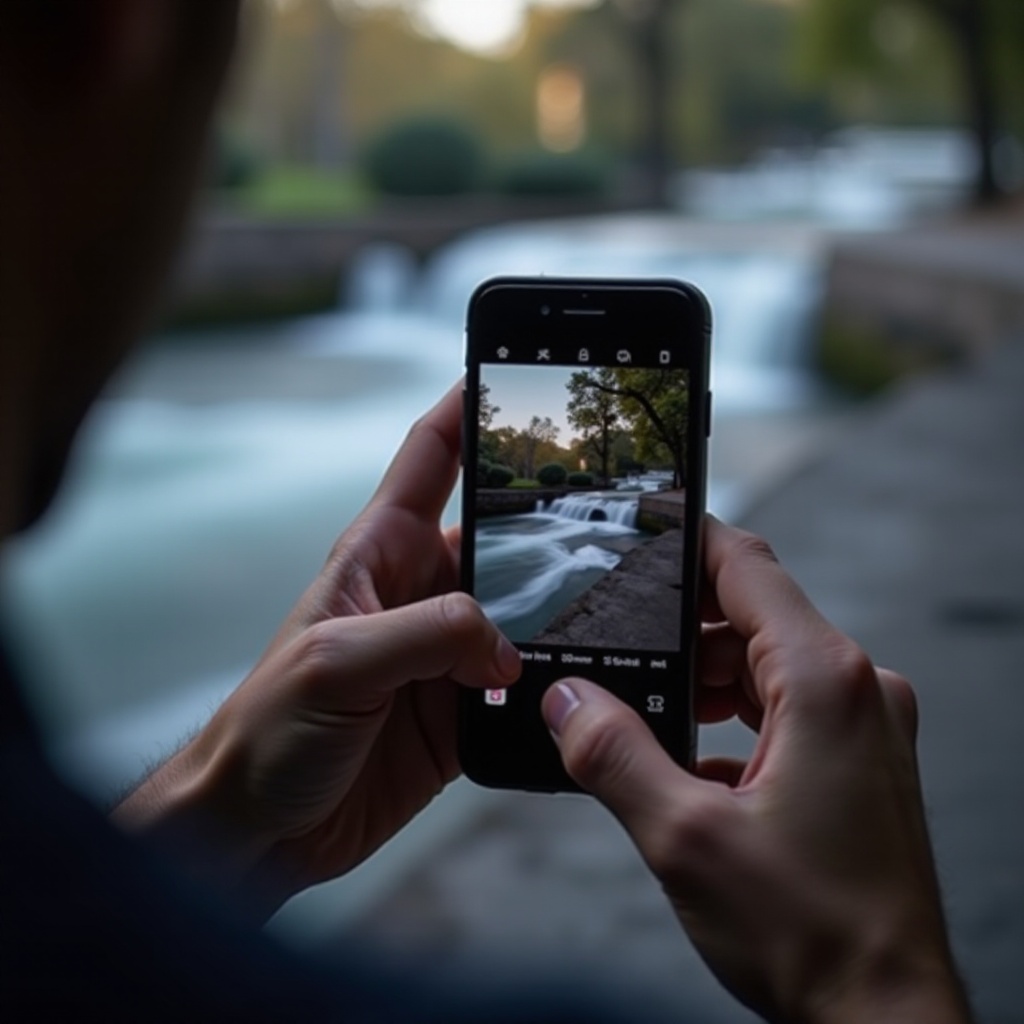
Creating Smooth Water Effects
Water bodies provide excellent subjects:1. Choose a Water Body: Rivers, oceans, waterfalls, or fountains work best.2. Set Slow Shutter Speed: Around 1-2 seconds is adequate.3. Use ND Filter: If it is bright, this helps control exposure.
Once you have captured your shots, the next step is to edit them to make them look professional.
Editing Your Long Exposure Photos
Essential Editing Apps for iPhone
Editing is crucial. Some recommended apps include:- Snapseed: A powerful yet user-friendly tool with various features.- Adobe Lightroom: Ideal for more advanced editing.
Step-by-Step Editing Guide
- Import Your Photo: Select your best shot and open it in your chosen app.
- Adjust Exposure and Contrast: Make sure the light and dark areas are well balanced.
- Enhance Details: Use sharpening tools and contrast adjustments to make your image pop.
- Crop and Straighten: Ensure your composition is perfect.
Tips for Creating Professional-Looking Photos
- Avoid Over-Editing: Less is often more. Keep adjustments subtle.
- Use Presets: Many apps offer presets that can maintain consistency across photos.
- Experiment: Try different edits to see what works best for each image.
Editing done, you will find that sometimes issues need troubleshooting.
Troubleshooting Common Issues
Dealing with Overexposure
If your photos are too bright:- Adjust Exposure: Lower the exposure setting in your app and use ND filters.- Edit Highlights: Reduce highlights in your editing app.
Reducing Camera Shake
Unwanted movement ruins shots:- Use a sturdy tripod: Ensure your iPhone does not move.- Camera Timer: Set a timer to avoid shake when pressing the shutter.
Managing Low Light
Night photos need care:- Manual Focus: Switch to manual focus to ensure sharp images.- Increase ISO: Slightly higher ISO can help, but do not overdo it to avoid noise.
Perfecting these aspects sets the stage for reflecting on key learnings.
Conclusion
Mastering long exposure photography with your iPhone blends creativity with technical acumen. Understanding long exposure basics, preparing your iPhone, and capturing intriguing shots are the essence. With patience and practice, you will produce mesmerizing images showcasing the dynamism of motion.
Frequently Asked Questions
Can I achieve long exposure photography effects without third-party apps?
Yes, the iPhone’s native Camera app allows for basic long exposure effects using Live Photos. However, third-party apps offer enhanced control and more options.
What are the best times of day for long exposure photography with an iPhone?
While long exposure photography can be done at any time, early morning and late evening (golden hour) provide ideal lighting conditions. Nighttime is also excellent for capturing light trails.
How can I reduce noise in my long exposure photos?
Use a lower ISO setting and longer exposure time. Additionally, fine-tune noise reduction settings in your editing app to achieve cleaner results.


